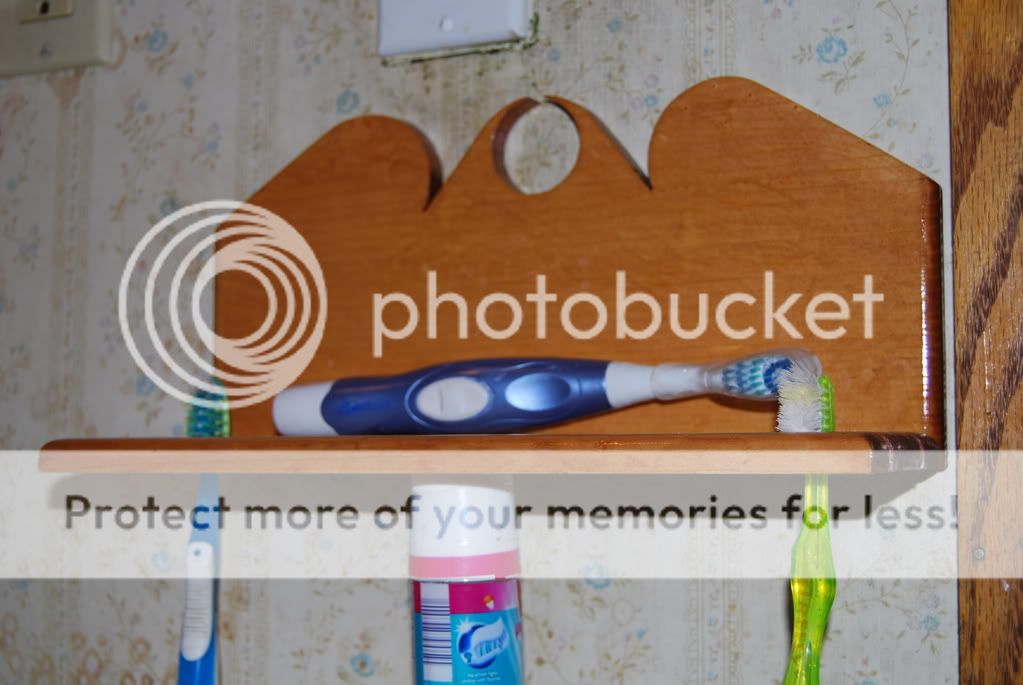
 I hope that everyone really enjoyed Part 1 of my Toothbrush & Cup Holder. Yeah, Yeah, I know. How basic and easy can you get?
Well, When you are limited Financially, you have to deal with projects that's within your income range, and this is what I have done.
The Scraps was outside my garage, easy access, my tools was inside the garage, this is the end result of free wood and a little Creativity.
Anyway, on with the last part!
I Explained the proccess in the first part how I Planed it down, Drilled the Cup Holes and all!
This part will be short, just because there isn't much I Can explain about finishing.
Although, I'm not the best Finisher when it comes to Applying coats of Stain and all, But as you can see, the project at least turned out a Somewhat satisfaction, it's usable, and didn't cost me a dime!
All pieces was Sanded down to 220g, I Applied Min wax Cherry Stain, Removed after approximately 5 Minutes. Let Dry overnight and next evening I Applied a Coat of Poly.
Waited 24hrs, Then I Lightly sanded at 220g, Wiped off the residue from the sanding, and applied another coat of poly and let dry for another 24hrs. I lightly sanded at 220g once again, let dry for another 24hrs, then lightly sanded at 220g again for the last Coat of Poly.
This included 3 Coats of Poly, Giving it a Glass and water tight Finish.
Hope you enjoyed this Project, I know I did as long as it took me to finish it, and get it installed ready to use, I know me and my Ol' Lady was tired of using a Cup to sit our toothbrushes in, and cups skattered along the sink top.
This concludes my Toothbrush & Cup Holder project, it was a project made on the fly, so, there is no Plans for it.
Stay Tuned for another project soon, as my Camera is recharging, I will take another picture of a project I Done while back for you to Feast your eyes upon!
4 comments:
Very nice! How long that take you? Looks simple and yet....I tried a towel bar...as I say often on woodwhisperer, Im a carver, not a cabinetmaker. Straight edges? what are those? and how do you get them? Anyway, Mine turned into these wavy disasters, I only saved some of them from the burn pile because I liked the carving. ( actually most are burned up...too embarrased to sell them)
Well, I Would say, Straight out working on it, Just a few Hours. Off and on, a Few Weeks, Real life stuff getting in the way, My 5 Dogs and 6 Birds, 1 Son and 1 Ol Lady! LOL
What you could do, s Carve a Spiral, like a Walking Stick Style Towel Bar, Don't have to be Straight, as long as it holds the Towels!
Some Towel Racks are actually Towel Rings! :)
Handi
Not the bar, I meant the actual panel holding the bar! I had a router table, cut a jig invested almost $200 to cut a these things out to go with the seats. I could never get the boards lined up right. Probably because my heart was just not in it. and the prototypes were such a disaster. I gave up on them.
Ah, as my mother always told me, Never give up!
For the Towel Rack, you don't really need anything that complicated.
Basically all you need is a Band saw, to cut your Small Rack Profile or scroll saw.
And a Forster Bit the size of the rack it's self.
And of course a Means of Hanging. If the towels being used are just for deco, then I would minimize any Plugs and holes outside the bracket and use Keyholes on the back.
If its being used, I would counter sink and plug, 2 Holes on top and 1 on bottom, just because of the weight from the top and less on bottom.
I will Post a Simple one for you to see what I'm referring to, I Think it would be an asset for you to have along with the toilet paper holder as well, Might as well have a complete set.
Personally, I never make one without the other, They go together, Like Biscuits an gravy, Chicken Noodles and taters, if you get my Drift!
Anyway, Because, it may be a little Difficult to get it the first few times, never give up no matter what. If I did, I would have never achieved what I Have in life!
Handi
Post a Comment