 I hope that everyone really enjoyed Part 1 of my Toothbrush & Cup Holder. Yeah, Yeah, I know. How basic and easy can you get?
Well, When you are limited Financially, you have to deal with projects that's within your income range, and this is what I have done.
The Scraps was outside my garage, easy access, my tools was inside the garage, this is the end result of free wood and a little Creativity.
Anyway, on with the last part!
I Explained the proccess in the first part how I Planed it down, Drilled the Cup Holes and all!
This part will be short, just because there isn't much I Can explain about finishing.
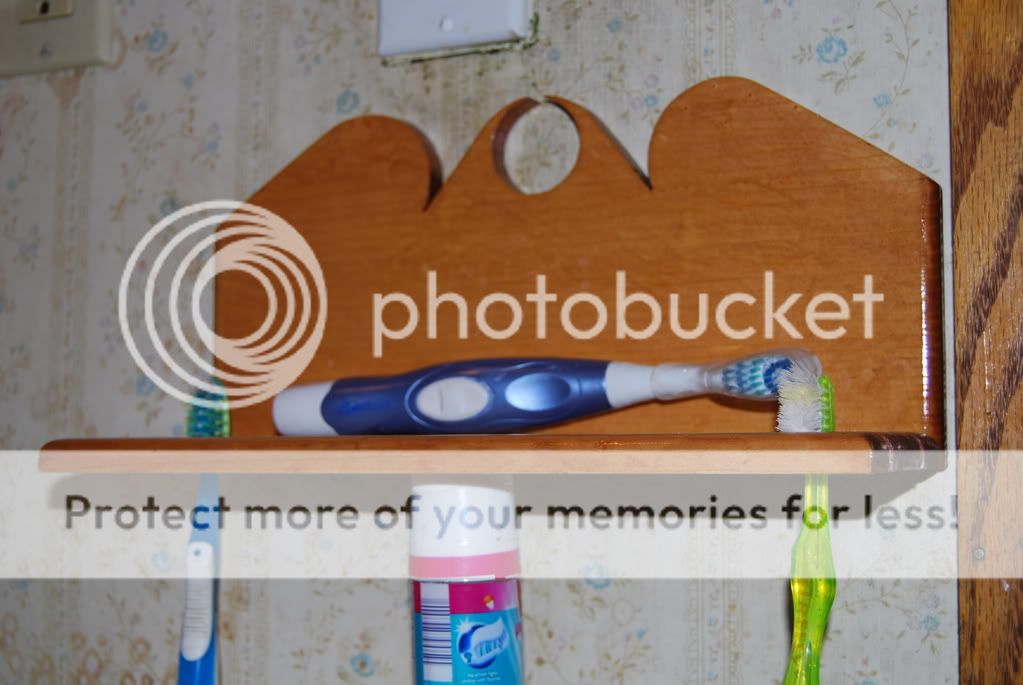
Although, I'm not the best Finisher when it comes to Applying coats of Stain and all, But as you can see, the project at least turned out a Somewhat satisfaction, it's usable, and didn't cost me a dime!
All pieces was Sanded down to 220g, I Applied Min wax Cherry Stain, Removed after approximately 5 Minutes. Let Dry overnight and next evening I Applied a Coat of Poly.
Waited 24hrs, Then I Lightly sanded at 220g, Wiped off the residue from the sanding, and applied another coat of poly and let dry for another 24hrs. I lightly sanded at 220g once again, let dry for another 24hrs, then lightly sanded at 220g again for the last Coat of Poly.
This included 3 Coats of Poly, Giving it a Glass and water tight Finish.
Hope you enjoyed this Project, I know I did as long as it took me to finish it, and get it installed ready to use, I know me and my Ol' Lady was tired of using a Cup to sit our toothbrushes in, and cups skattered along the sink top.
This concludes my Toothbrush & Cup Holder project, it was a project made on the fly, so, there is no Plans for it.
Stay Tuned for another project soon, as my Camera is recharging, I will take another picture of a project I Done while back for you to Feast your eyes upon!
